The below article is relating to the bulk upload - Company Users which can be found by navigating to Administration -> Company -> Bulk Upload.
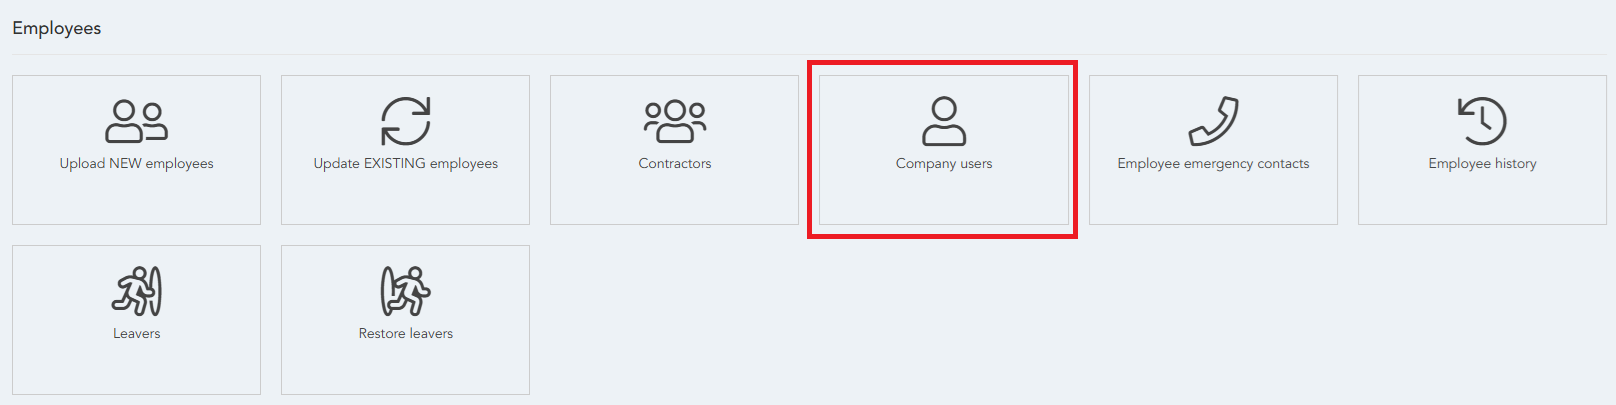
The Company Users bulk upload is under the Employees section here:
Once you've clicked the Company Users Bulk Upload button you will be directed to this page:
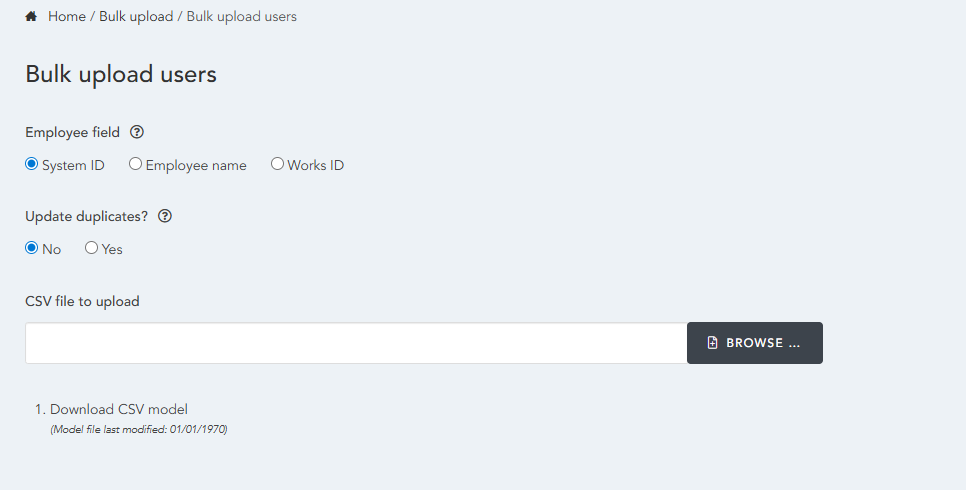
Employee Field
In the CSV the first column is called employee ID, this setting relates to what you enter in that column, For example if you have used the employee's names in the CSV the employee name option will need to be selected.
Update Duplicates?
If set to yes the system will update any duplicates it finds based on the employee field, if you choose no then duplicates will be skipped.
CSV file to upload
This is where you will load your CSV when it is ready to upload. Press browse and select the CSV file.
Download help file and instructions
This option will download our bulk upload help file. This includes instructions on how to use each bulk upload and lets you know which columns are mandatory and which are optional, it's important to look at the relevant help file before performing a bulk upload so you can get it right the first time.
Download CSV Model
The second option downloads an example template for you to use for the bulk upload with all the headers needed for the bulk upload to be successful.
Editing your CSV
When you download your sample CSV file it will look like this:

Employee ID - The Employee you want to assign the user account to. This can either be the name of the employee in format Firstname Lastname (with space in between) or the unique numeric system identifier for the employee – if there is more than one employee using the entered name then you will get an error about the employee being ambiguous and you should use the system identifier e.g. Joe Bloggs. This field is Mandatory.
Login ID - If you wish to setup a Company User account for the employee so they can login and manage their own account then you should enter a username (which can be their email address) in this box. The entry in this field must be unique within Natural HR and not just within your account. We STRONGLY recommend using the employee email address as their login name as it makes it easier for them reset their password etc without needing to contact you as their administrator for support.
This field is Mandatory.
Password - If you have entered a login you must enter a password. Password will be checked to ensure it is suitable before allowing to proceed to prevent use of common insecure passwords
e.g. SecurePasswordEx@mple.
PIN - If you have entered a login you must enter a pin. Must be six digits long (no letters etc.) and will be checked to ensure it is suitable before allowing to process to prevent use of 111111 etc.
Login enabled - If the employee account is to be enabled immediately - if you have entered a login above then you must enter a login enabled value. Valid options are:
1 = enabled
0 = disabled
If left blank this field will default to Disabled.
User group - If you have entered a login above then you must enter a user group. Only valid options are:
Admin
HR
Manager
Employee
Finance
Recruiter
This field is Case Sensitive and Mandatory.
Secondary user group - If employee will be member of a secondary user group. Secondary user groups are only available if the primary user group is Manager or Finance. Valid options are:
Finance
Recruiter
Trainer
Facilities
This field is Case Sensitive and Optional.
Password change on login - If you want the user to have to change their password on next login. Valid options are:
1 = they must change their password
0 = they don't need to change their password.
If left blank this field will default to force change on login.
Lara
Comments